Key Takeaways
- Setting heart rate alerts on your Garmin watch can guide your workouts without constantly checking your watch.
- Alerts can be tailored to specific activities and goals, such as keeping heart rate within a certain range.
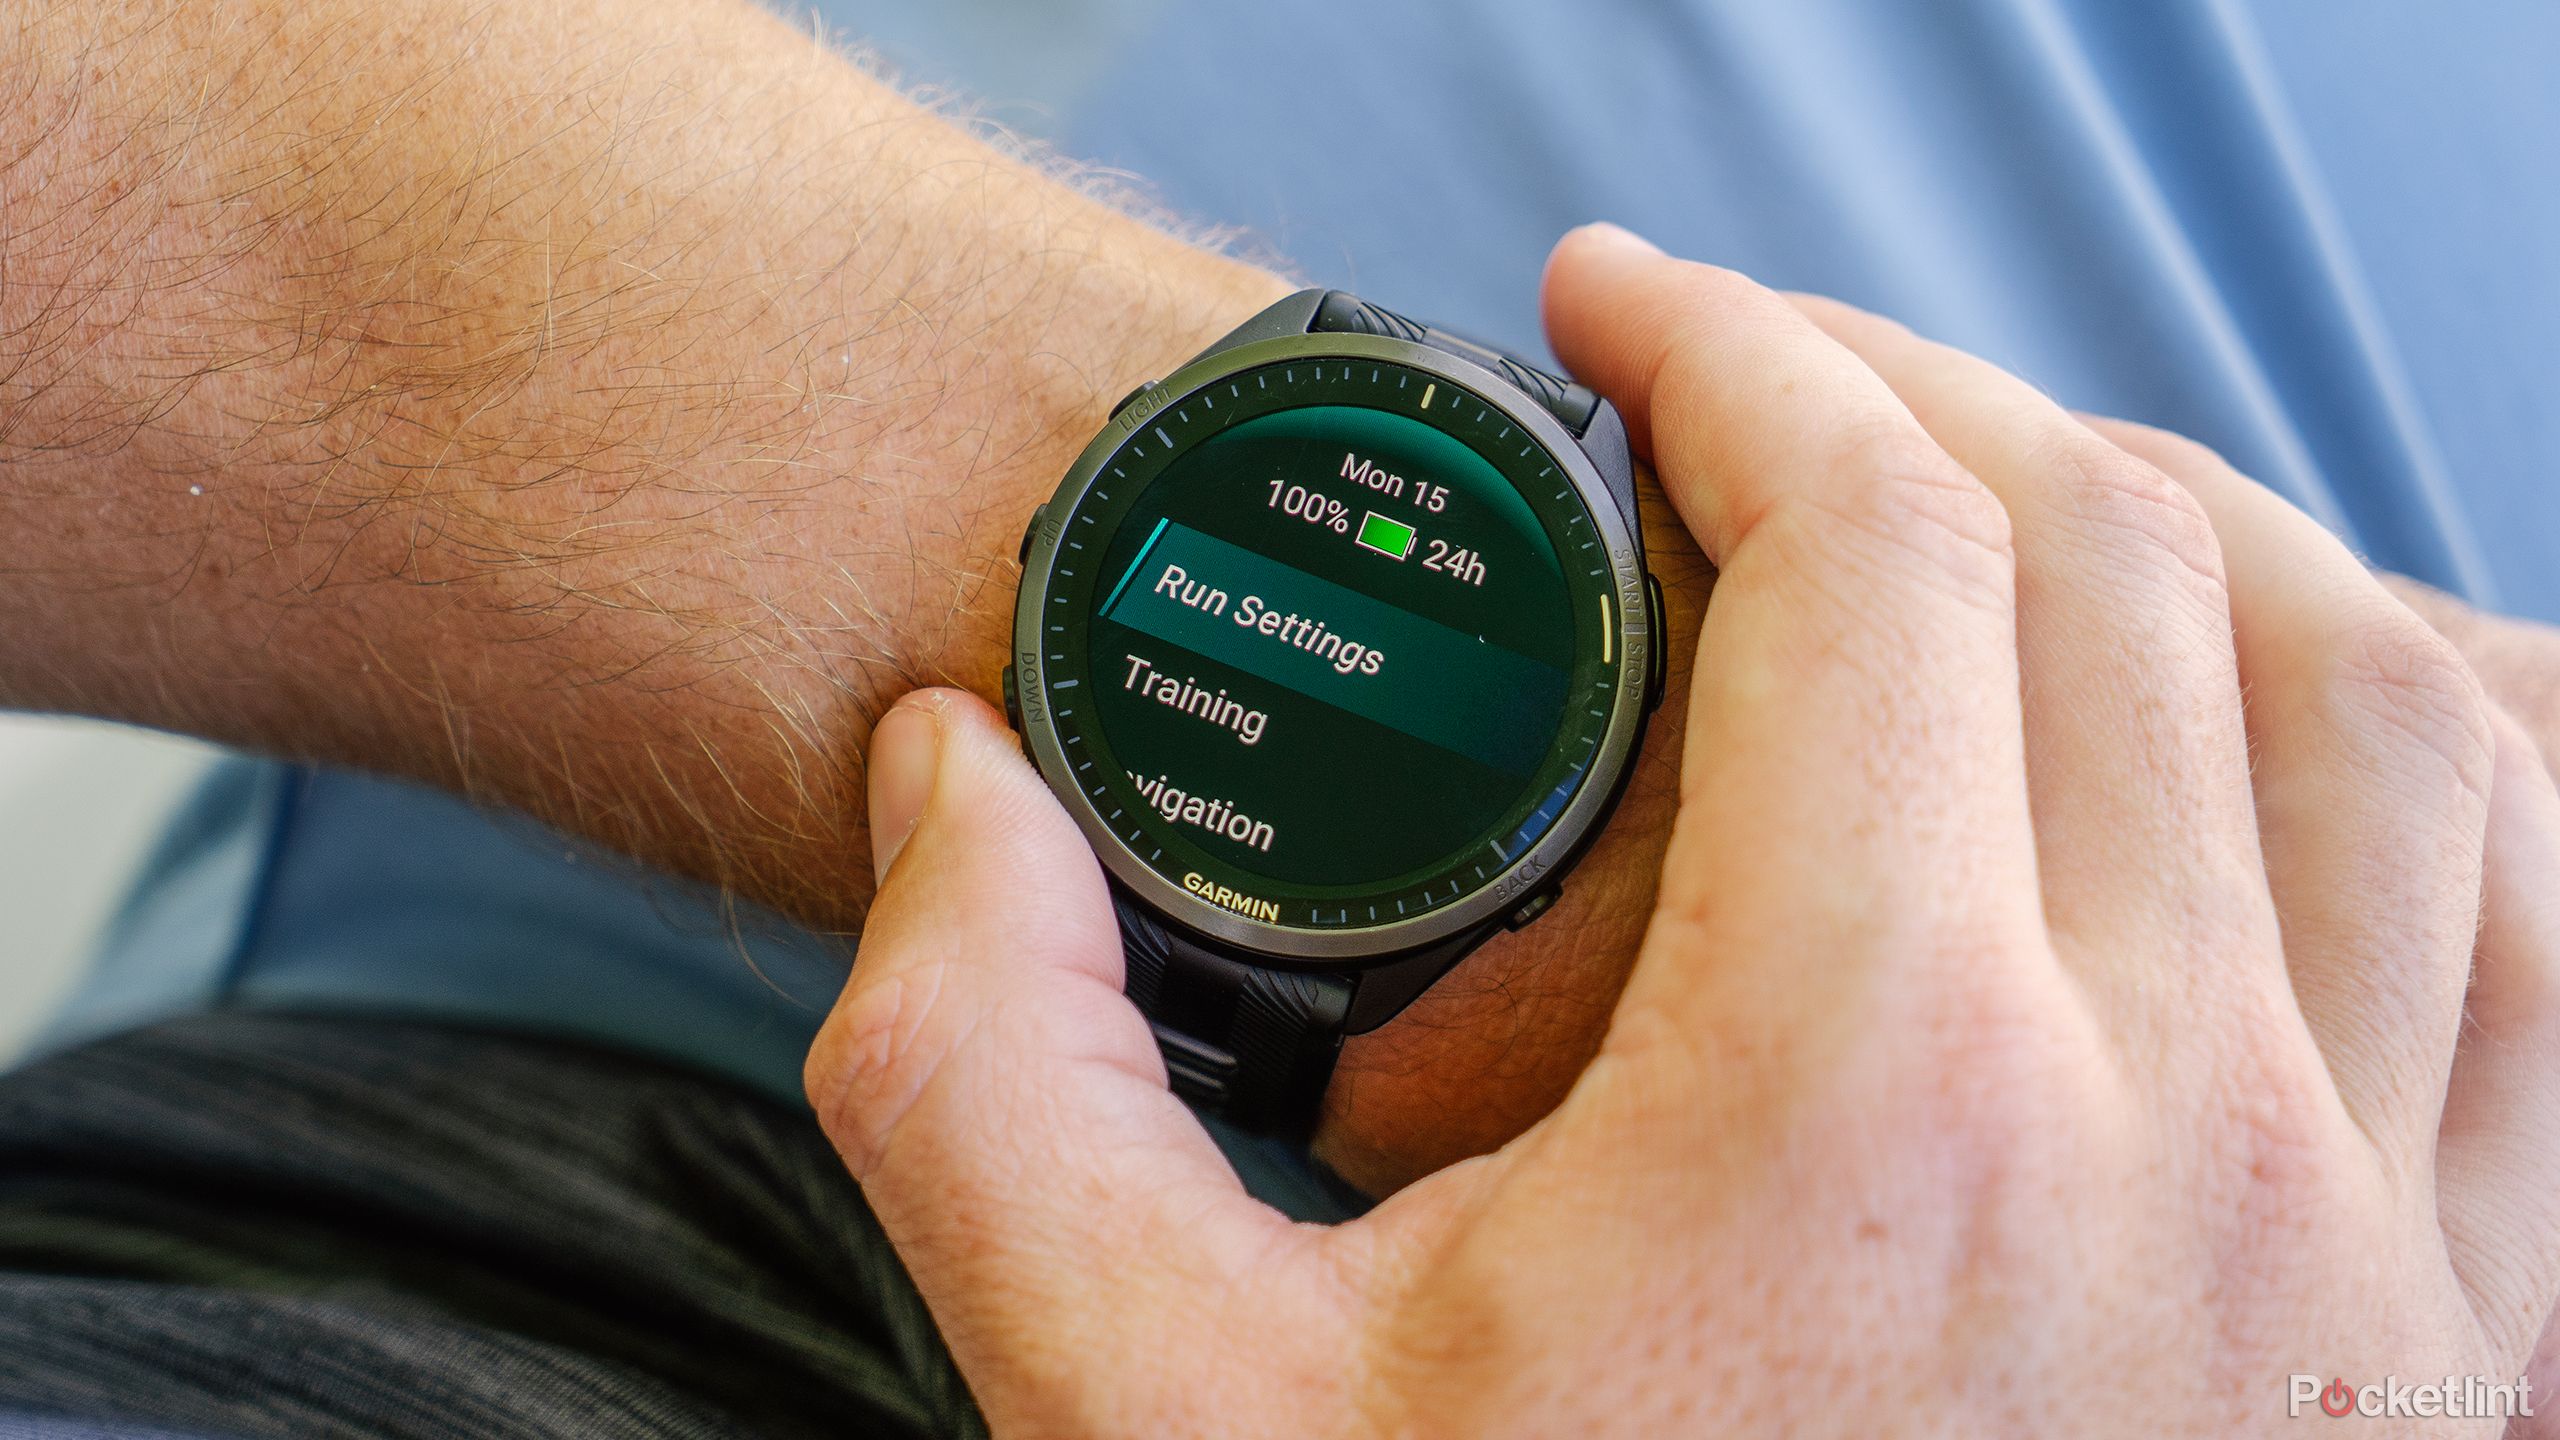
- Alerts can be easily set on your watch by accessing the Settings option for a specific activity type.
Gathering heart rate data during your workouts is incredibly useful and important for many reasons. It can help guide your recovery since your heart rate will be a major indicator of how much energy you exerted during the workout. Heart rate data can also help you understand your performance and fitness over time. Also, knowing your heart rate during an activity can guide what you do. Depending on the activity, you may base the entire workout on your heart rate, adjusting as you go based on what your heart is doing.
Training with a focus on heart rate is great for fitness reasons, but constantly checking your watch can get annoying. To make this easier, Garmin lets you set heart rate alerts for workouts. That way, when you hit certain thresholds, the watch will notify you, so you won’t need to remember to look at your wrist throughout the course of the workout.
Related
How to enable Garmin heart rate alerts
Garmin devices can notify you if your heart rate dips too low or races too high when resting, allowing you to keep a closer eye on your heart.
How to set heart rate alerts on your Garmin watch
Set alerts for a range of heart rate levels
There are multiple options for heart rate alerts on your Garmin watch, so you can really tailor it to your specific needs. Alerts are also specific to individual workouts, so you can set different ones for runs, weight lifting sessions, swims, etc. For example, maybe you’re working hard on sticking to zone two during your runs ( low heart rates). You could set an alert to notify you when your heart rate gets too high so that you keep the pace down. Or, in the opposite direction, if you’re pushing things, you could set an alert when your heart rate gets too low during a bike ride.
No matter how you use your alerts or what your goals are, setting them is relatively easy and quick and done right on your watch. There are two ways to access the alert setting, though they both provide the same results.
- Hold Up/Menu (the left middle button) on your Garmin watch.
- Scroll to and select Activities & Apps.
- Choose the activity type you want a heart rate alerts for.
- Tap the Settings option for that activity (e.g. Hike Settings).
- Select Alerts.
- Select Add New.
- Select Heart Rate.
- The first screen is for the High Alert. You can use this when you want to be notified if your heart rate is getting too high. Choose a preset range based on heart rate zone, or scroll to enter a Custom value. Or, choose Off if you don’t want a High Alert.
- The next screen will be the Low Alert. This is useful if you want to keep your heart rate above a certain threshold. Choose a preset range based on heart rate zone, or scroll to enter a Custom value. Or, choose Off if you don’t want a Low Alert.
Alternatively, you can also access the same settings by following the steps below.
- Press Start/Stop (top right button) on your Garmin watch to access your activities.
- Choose the activity type you want a heart rate alerts for.
- Tap the Settings option for that activity (e.g. Hike Settings).
- Select Alerts.
- Select Add New.
- Select Heart Rate.
- The first screen is for the High Alert. You can use this when you want to be notified if your heart rate is getting too high. Choose a preset range based on heart rate zone, or scroll to enter a Custom value. Or, choose Off if you don’t want a High Alert.
- The next screen will be the Low Alert. This is useful if you want to keep your heart rate above a certain threshold. Choose a preset range based on heart rate zone, or scroll to enter a Custom value. Or, choose Off if you don’t want a Low Alert.


